
How-to · 3 min read
How to take star trail photos
With a little planning, basic editing skills and the right weather, you can shoot star trails quite easily. A simple step-by-step guide from planning to stacking.
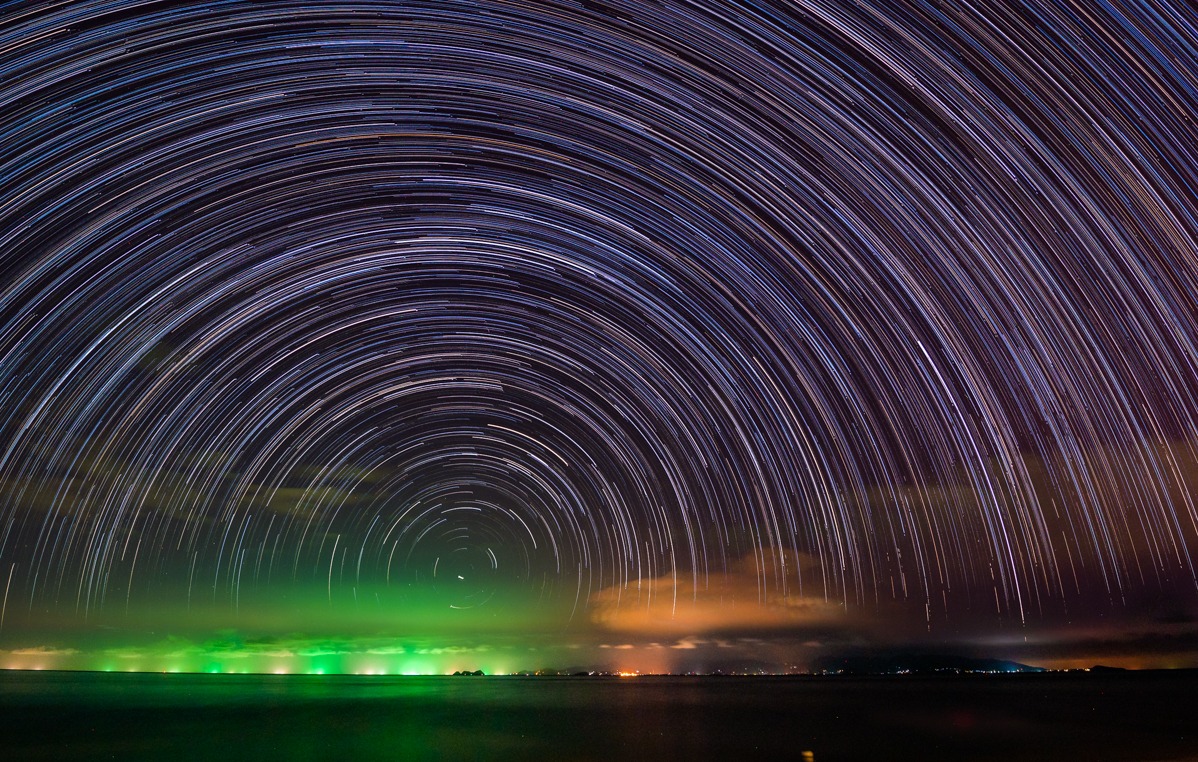
Ever seen a photo of stars streaking across the sky and wondered how it was made? Here's how I do it, as simply as possible. It takes a little practice, but I'm sure you can do it — and you'll enjoy it.
Planning your star trail shot
Planning increases your chances of coming home with a shot you're happy with. This is what I check:
- Moon phase. The ideal moon is about 25% visible — just enough to light the foreground, dim enough not to overpower the stars. Compose so the moon stays out of the frame. MoonPage shows the phase for any date.
- A clear sky.
- An interesting foreground — an old building, a rock, a tree. Star trails on their own can look boring.
- A place where you can shoot undisturbed for 1–2 hours (ideally longer).
- As little light pollution as possible. Get as far from the city as you can — check the light pollution map.
- A torch and warm clothes for the night.
Equipment
- A camera with manual mode. I use a Nikon D750 (and I love it).
- The wider the lens, the better. I shoot with a Nikon 14–24mm f/2.8.
- A steady tripod — a must.
- A fully charged battery, plus a spare if you have one.
- Plenty of memory card space.
- An intervalometer, if your camera doesn't have one built in.
- Maybe some coffee and a Bluetooth speaker to keep you company.
Where to point the camera
The direction you point the camera changes the pattern of the trails:
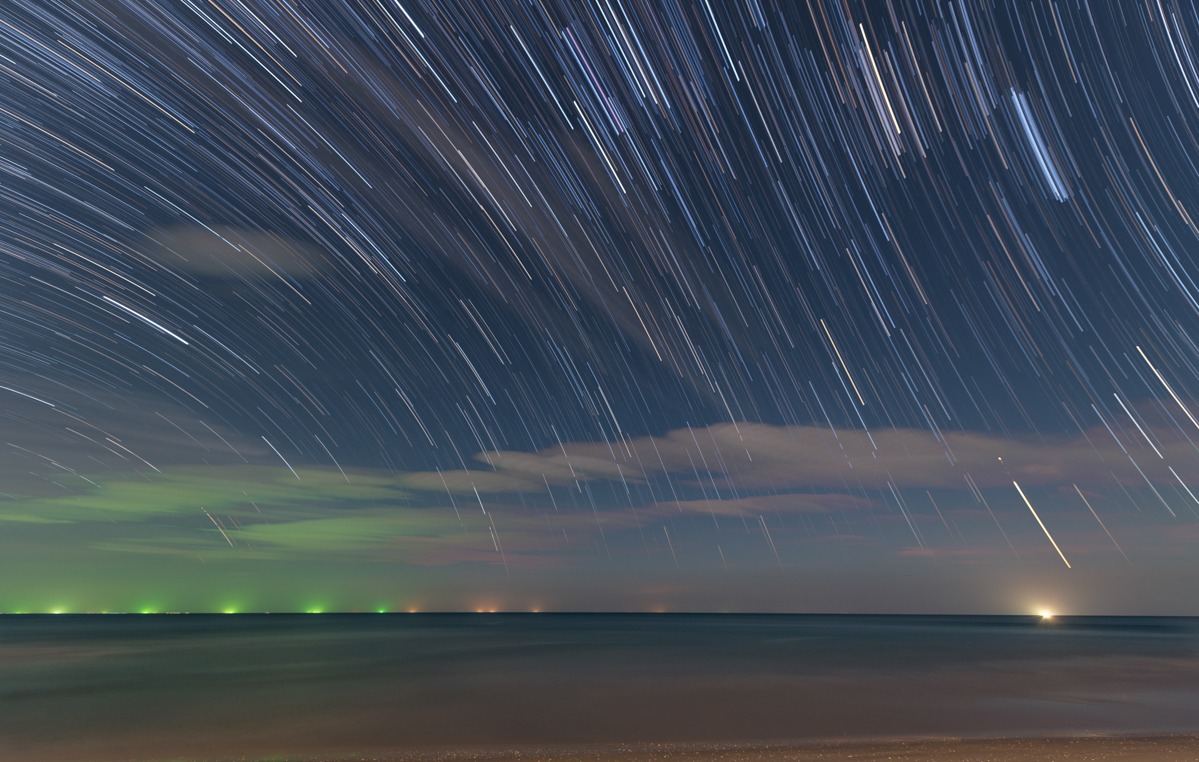
Pointing east or west, the stars draw lines across the frame.
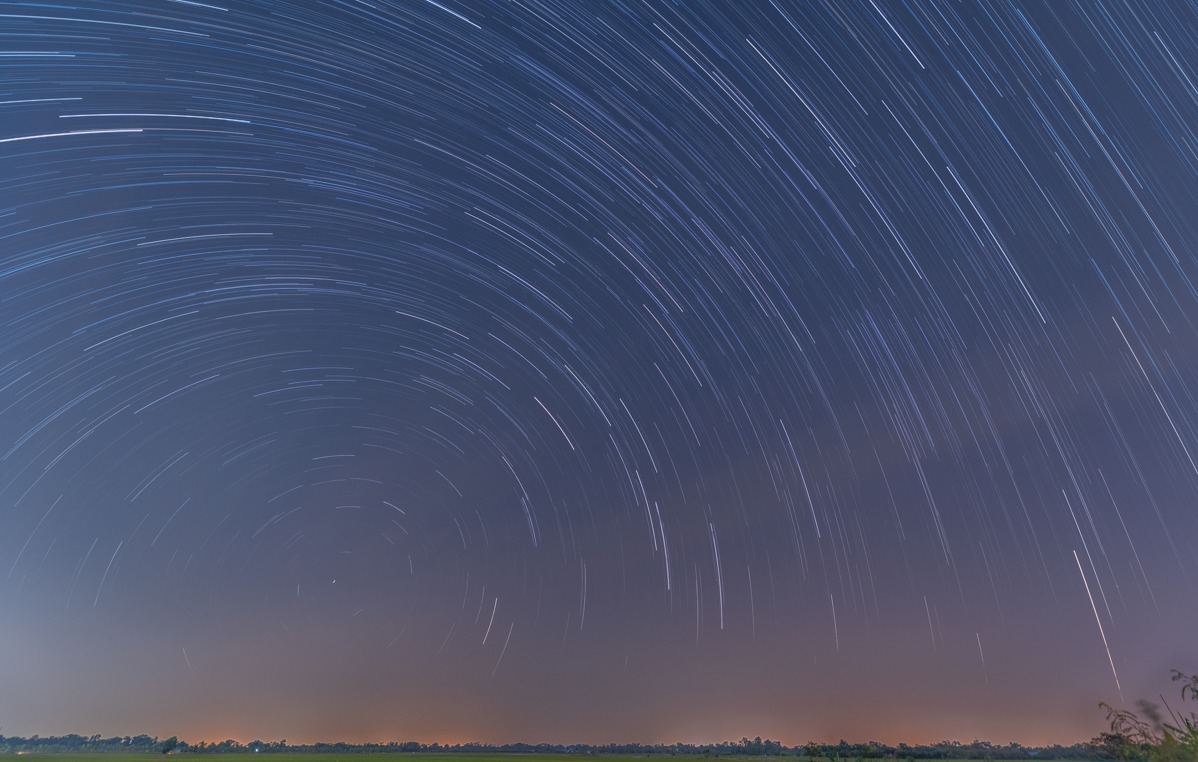
Pointing north or south, the stars draw circles around the pole.
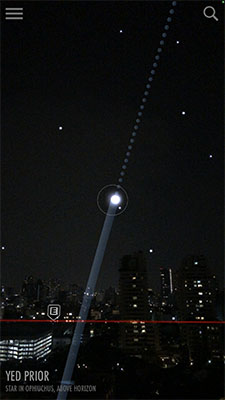
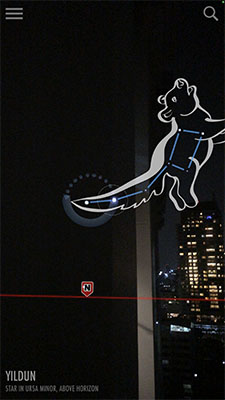
To find directions in the middle of the night I use a free app called SkyView Lite (iOS, Android). Point your phone at the sky to see the compass directions and how the stars will move.
Shooting
This is the routine I follow before starting the interval shooting:
- Put the camera on the tripod.
- Compose your shot. If there's a moon, point away from it so it won't drift into the frame over the next 2–3 hours.
- Shoot in RAW.
- Save battery: turn off image review, long-exposure noise reduction and VR/image stabilisation.
- Switch everything to manual — including focus.
- Turn the focus ring to just before the infinity mark. Double-check autofocus is off on both the lens and the body.
- Open the aperture wide to collect as much starlight as possible. With no moon you may need f/2.8. With a crescent moon, start at f/4 or f/5.6 — the moon lights the foreground, and the smaller aperture keeps the whole scene sharp.
- Start at ISO 400 (or the highest ISO your camera handles with acceptable noise), then set the shutter speed.
- Take a test shot and check composition and exposure. Adjust ISO and shutter speed until it's right.
- Start interval shooting — and leave the camera alone. I shoot for at least 3 hours, or until the battery runs out.
Editing and stacking
- Import and edit your photos in the software you like. I use Lightroom: the light barely changes during the night, so I edit one frame and sync the settings to all the others.
- Play with colour temperature — it changes the colour of the sky a lot.
- Export the frames as JPEG or TIFF.
- Stack them in Photoshop or in the free app StarStaX. I've used both and find StarStaX very efficient.
Have a go, and if you take a star trail photo you're proud of, share it on GetFreePics.